Creating an online store, a place where you can sell products and services to customers is easier than ever these days. It’s simple, easy, and affordable to create such a business. But, to grow and to succeed is not going to be simple. You will need to establish the presence of your business on the internet. This is why it is so important to leave a good impression on your clients. An impression that shows your business is serious. One of the ways to achieve that is by creating a professional invoice.
Without it, it is impossible to get paid. It is basically a bill that you need to send to your clients, asking them to pay for the product they have purchased.
The invoice should be pretty straightforward and simple, but it should also portray all the essential information.
To help you create the most professional invoice that you will send to your customers, I am going to provide you with a few tips in this article that should help you.
Check how an invoice should look like

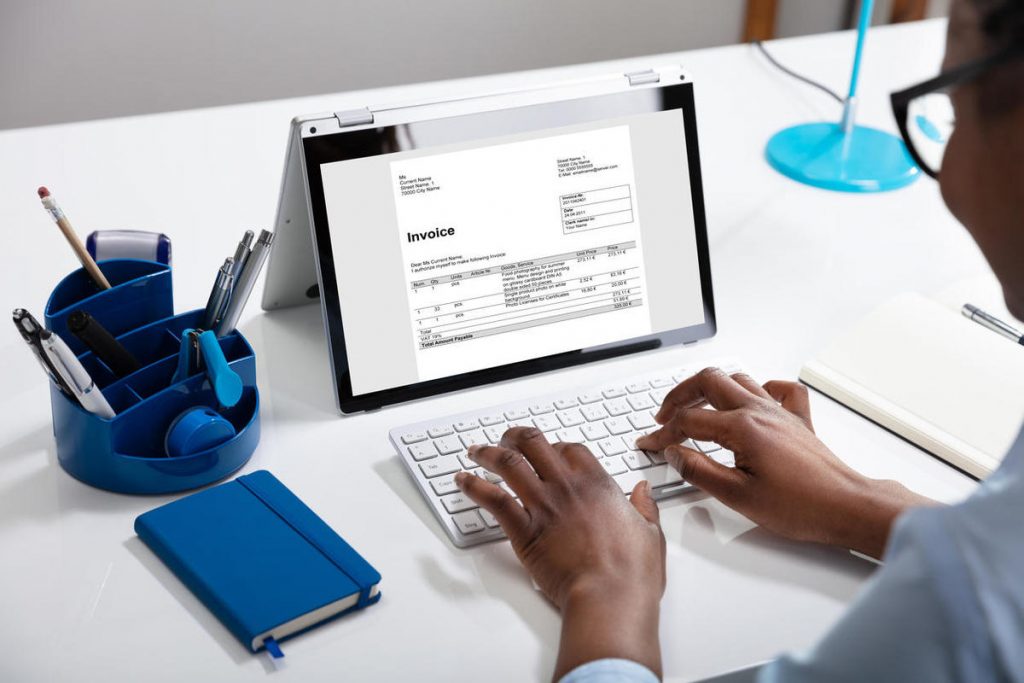
Before you can begin working on creating one for your customers, it is probably a good idea to see an example online. This will show you exactly how it should look like.
Of course, this does not mean that you should copy it entirely. It should still be unique to your company, but the example is at least going to give you an insight.
Try searching on Google Images. You will get thousands of results. The ones with the cleanest design and without any unnecessary information are the ones you should be looking at. Those are good examples.
Now, with that in mind, you can continue with the invoice building process.
Use any word processor
To begin, you will first need some kind of program to start building your company’s future “bill”. The easiest program to use would be Word or any other word processor. But, Word is preferable mostly because there are several templates that could help you along the way.
Although, I wouldn’t recommend using those basic templates. They have been overused by thousands of businesses. If you want something a bit more unique, you should make it by yourself, try out a free invoice generator, or a more unique template as suggested by Billdu.
Fortunately, there are thousands of templates online, so I am sure that you will be able to find something that is going to satisfy every aspect.
Make sure your customers know it is an invoice

One of the worst mistakes businesses make when sending the bill is that they forget to mark it properly. If a customer is unable to immediately recognize your company’s bill, they will most probably ignore it. This is going to lead to all sorts of trouble.
So, whatever you do, make sure to specify both in the title of the email and the name of the file that it is a bill. In other words, put the word “invoice” everywhere you can.
Better safe than sorry, right?
Add your company’s information
Now it is time to start adding the required information.
First, it is essential to add information regarding your company. Company name, address, phone number, email, and any other contact details you would like to share. Often, this information is placed in any of the four corners of the A4 list. Try the top left corner or the bottom right one. Try different styles and determine which one looks the most professional.
Add customer info
Another mandatory piece of information for every invoice is the customer’s name or the customer’s company name. Keep in mind, it is probably better to add both. Company and customer name. Add their address. Contact details too, if needed.
ID number

Every single bill should be unique. This is why every bill has its own unique identification number. Ensure that you add that to the template.
This is going to make it easier for your business to track customers, sales, and products. You will know exactly where you’ve sent a bill, who has paid and who hasn’t.
Product list, description, and dates
You are almost done and what is left are the most important details.
All customers need to know exactly what they will be paying for. So, adding a list of the goods or services they have purchased is essential. To make it even clearer, add a product description. It is vital to provide enough information to make it easier for your clients, but also you should keep it to a minimum for the invoice to be professional, clean, and simple.
Too many details can ruin the aesthetics of the template.
Additionally, dates are also mandatory. Dates for when the goods were officially ordered, when they were delivered and the day you created the invoice.
Calculate costs and payment due date

Finally, the most vital piece of the puzzle is the costs. The customer needs to be informed exactly how much they need to pay for the goods received.
If there are multiple products listed, you will need to add up the money. Below the pricing of every product add the sum. This will be the total amount of money the client should pay.
Do not forget any additional costs such as shipping, tax, etc.
Of course, there should also be a payment due date. Your company needs to be paid and you can’t wait weeks or months for that. With a due date specified, the client is informed that they have a deadline. If needed, you could also provide information about your bank account.
Send it
You are almost done and all that is left is to send it. If you are holding an online store, you will most probably be sending the invoices through email. Ensure the email is straightforward and informative.
After that, you are done. With these steps in mind, you will be able to create a concise and professional invoice for all of your customers. A good design and style won’t go unnoticed.

