
Bored of your old and monotonous notifications sounding exactly the same way as the day you bought your smartphone? Want to spice things up by adding a personalized tune to your messages? If so, then don’t worry because you are not the only one. It is extremely common amongst smartphone users to get bored of hearing the same notification audio again and again.
According to Notification-Sounds.com, a leading audio provider for notification sounds, it is crucial that you change the tune alerts of your smartphone from time to time to ensure that you don’t start dreading them altogether. Fortunately, there are several ways you can do so and there are also many apps available on the app store that help you do exactly that.
However, to add custom sounds to your smartphone, there is a very specific process you must follow step by step in order to get the exact audio alerts you want. Many people aren’t familiar with his process and if you are one of them, then don’t worry because we have you covered.
In this article we will be listing exactly how you can add your own custom notification sounds for your phone as per your preference. Read the article till the end so that you don’t miss out on crucial details.
1. Create your own personalized audio

The first and most major step of setting your own custom notification sound for your phone is to create one. This sound can be anything – from the snippet of a song to a line in a movie. The choice is entirely yours and the sky’s the limit. Once you find the perfect audio tone that you want to add in your phone, get an audio mixer or cutter tool and then extract the particular audio snippet as a separate file in your phone.
Alternatively, you can just search for notification sounds on the internet and find the one that you prefer the most. There are tons of websites out there that are just dedicated to providing its visitors with notifications sounds, just like the one we mentioned earlier. While getting a tune through this way is not an entirely custom way to obtain it, it is still an option in case you don’t want to go through the long process of audio cutting.
Once you have your audio file, paste it in an accessible folder in your file manager that you can easily remember without any considerable difficulty. This is necessary because you will be copying this tune and pasting it somewhere else later in the next section of this guide.
2. Copy custom notification sounds to their designated folder

Now that you have the audio files you are going to use for your notifications ready, it is time to put them in a place where they can be easily detected by your smartphone without any problem. While this step is optional, we strongly recommend doing it as it only takes a few seconds but saves you tons of time later on.
All you have to do is enter your file manager and go to the folder where you have the files. Then, copy the audio files you made or downloaded from their source folder by holding it on for some time and pressing the copy button. Once you have successfully copied your Android files, go into the internal storage of your phone (the one used by your smartphone, not by your SD card).
From there, search for a folder titled ‘Notifications’ and enter into the folder. This is the folder your smartphone uses to access your audio files easily. Paste whatever files you copied before into this folder. And that’s it! You are done for the process in this section. Let’s move onto the next section and find out what you need to do to get your sweet tunes loaded into your phone alerts.
3. Assign your notifications their own custom sounds
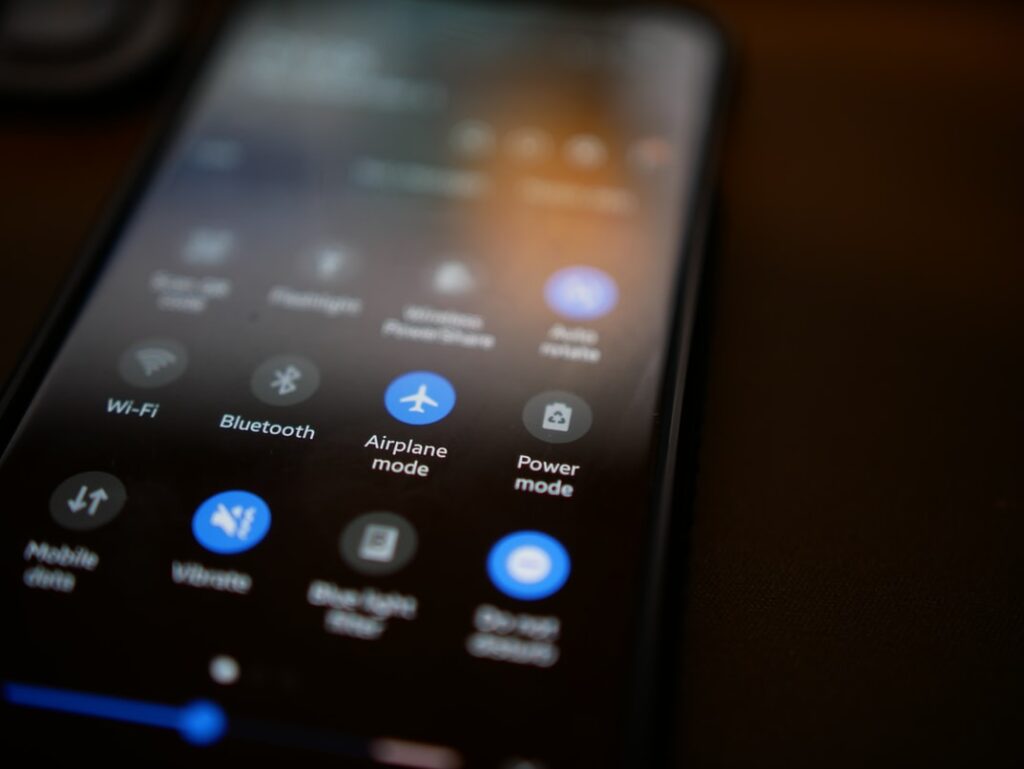
After you copy the files to the folder mentioned before, they should be easily accessible to you in the settings app. Simply open your smartphone’s settings application and head on to the menu that says ‘Sounds’ or ‘Notifications’ depending on your phone model. In this category, find an option that goes ‘Default notification sound’.
That’s the menu you want to change the tune alerts of your smartphone. It should open up a menu of your phone’s various default notification sounds. Ignore them and find your own audio file from its title. It should be easy to spot and must be standing out and in case you are having trouble finding it, you can simply open your file manager and look at the filename yourself.
Once you find the audio file, select it and press confirm, save or OK (whatever shows on your phone). Once done, simply go back and then check the default tune your phone is using for notification now. If it’s the one you made or downloaded, then congratulations! You did it!
However, in the rare chance that your audio file doesn’t come up in the settings despite you pasting it in the folder, try restarting your phone or manually selecting the file from its original folder.
4. Use your personalized audio for your android applications

In case you want a personalized tune for your other applications like Gmail or Messaging, then there is an easy way to do that as well. Simply enter your preferred app where you want to install the notification tune, go in the settings, go to manage notifications (for Gmail, this option will open up after you select your Gmail account), and then look for a settings category titled advance.
In there, find the section which controls your notification tune. We cannot pinpoint you to the exact location because the interface is different for each phone, but we can tell you that the setting would be very easy to spot. Check out every setting that has ‘notification’ and ‘audio’ in it until you hit the jackpot. Once you do, simply change the default audio to the custom one you want.
Conclusion
There are several ways through which you can change the audio notification sounds on your phone and we hope this article was insightful for you to do exactly that. If it was, please consider following our website for regular updates as it will help us out immensely.